

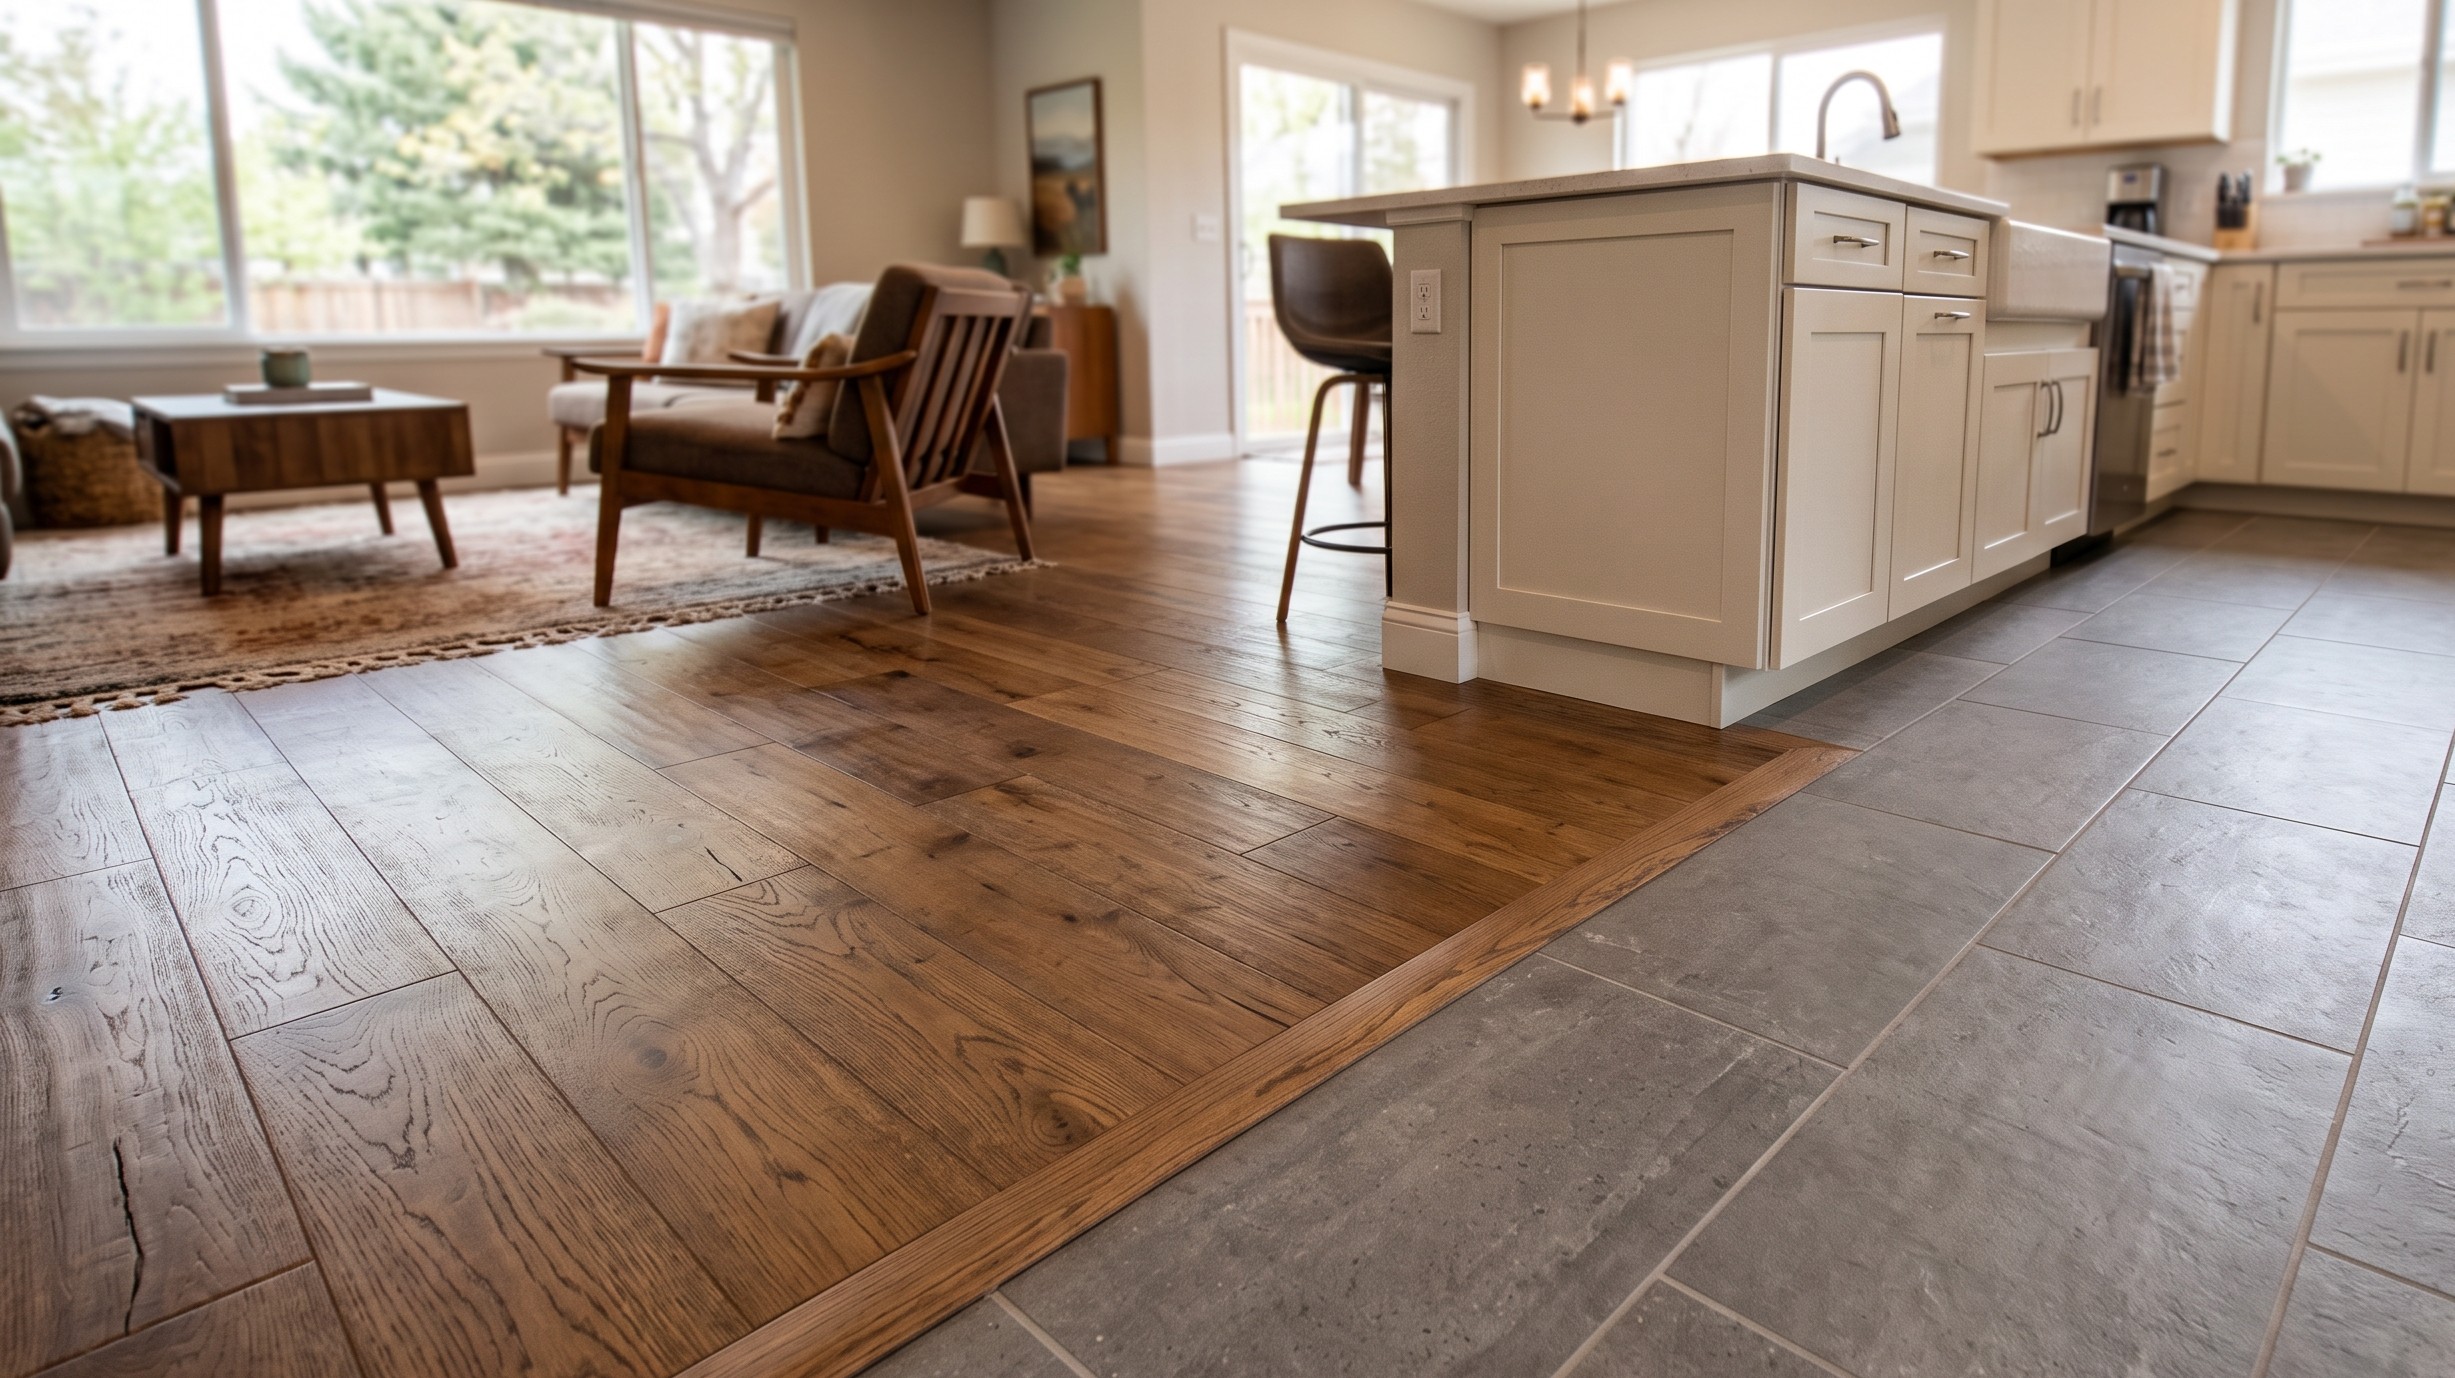
Open-concept main levels completely transform how your home feels. They open up your floor plan, let natural light flow across the house, and make it easy to host family gatherings. But when you remove the walls separating your kitchen from the living room, you face a major mechanical challenge right where your durable kitchen tile meets your living room hardwood.
Because your kitchen and living room serve very different purposes, mixing your flooring materials makes perfect sense. However, our local climate throws a massive wrench into how these materials behave next to each other. Managing the boundary line correctly takes precise subfloor prep and the right transition pieces so your floors stay safe, flat, and visually cohesive through every season.
Why Our Wild Humidity Swings Mess With Floor Seams
The primary reason flooring transitions fail or become tripping hazards comes down to material thickness and environmental movement. Different flooring systems do not sit at the same height out of the box. A standard porcelain kitchen tile is thick, and it sits on top of a layer of mortar and an uncoupling membrane. Classic engineered hardwood planks have an entirely different profile and sit on a thin underlayment or attach to the subfloor.
Out here along the Front Range, our natural climate is semi-arid, which creates an ongoing physical battle at the seam between your kitchen and living room. In the winter, when the furnace runs non-stop to fight off a blizzard, the relative humidity inside your home can drop into the single digits. Come summer, afternoon thunderstorms dump rain over the foothills, the windows get opened, and moisture levels spike.
Hardwood absorbs that summer moisture and swelling, then releasing it and shrinking during our dry winters. Porcelain kitchen tile, however, is completely rigid and never moves a millimeter.
If you choose an engineered hardwood for your living room and float it over a concrete slab foundation—which is the standard layout for newer builds throughout Highlands Ranch, Lone Tree, and Aurora—that entire wood floor behaves like one big, connected mat. If an installer simply butts that moving wood floor tight against your unmoving kitchen tile and slaps standard grout or caulk into the seam, our dry winter air will cause the wood to shrink away. The grout line will crack and crumble into pieces within a single season. When summer moisture returns and the wood swells back up, it will slam into that hard tile edge, causing the edges of your planks to buckle, warp, or chip.
Utilizing the Right Transition Pieces for Safety
Overcoming this height gap and material movement means planning the subfloor preparation before a single tile or plank goes down. We calculate the total finished height of both systems to ensure that when both materials meet, their top surface faces sit completely level.
To give your hardwood room to breathe without sacrificing safety or creating an uneven lip, specific transition profiles keep the seam secure:
T-Moldings: If your tile and hardwood sit perfectly level with each other, a T-molding is the standard solution. The vertical stem of the "T" sits directly in the expansion gap between the floors, while the flat top cap rests gently on both sides. This bridges the seam with a clean, low-profile wood line that allows the hardwood to expand and contract naturally beneath it.
Reducer Thresholds: If a height difference is unavoidable due to an existing concrete slab constraint, a wood reducer profile creates a gentle, sloped ramp. This eliminates the sharp, vertical edge of the tile, allowing your foot to glide smoothly over the transition without stubbing a toe when you are carrying heavy groceries or hot plates.
Slim Metal Profiles: For a modern, minimalist look, specialized slim metal transition tracks can be embedded directly into the tile mortar bed. This creates a razor-thin, protected edge right against the wood plank, offering a sleek look while still leaving the necessary breathing room for the wood.
Designing an Intentional Transition Line
Where you choose to place the seam between your kitchen tile and living room hardwood heavily impacts the visual flow of your home. Alignment matters because cutting a straight line directly across a wide-open room can look harsh and accidental if it does not align with your architecture.
To make the transition look purposeful, align the flooring seam with the edge of a kitchen island, the drop-off of a breakfast bar, or a natural structural header in the ceiling. Whichever path you take, keeping the seam straight, secure, and flush ensures your open-concept layout remains functional and safe from tripping hazards, regardless of how drastically the weather changes outside.
Let's Design the Perfect Flooring Transition for Your Home
Mapping out an open-concept floor plan works best when you can look at material profiles and physical thicknesses right next to each other. Seeing how different wood stains complement your tile choices under your home's natural light makes it much easier to visualize the final layout. Whether you want to browse our complete collection at our Littleton showroom or have us bring the samples directly to your driveway in our mobile showroom van, Mark, Kelly, and the team are here to handle all the subfloor calculations and ensure your installation is flat, safe, and built to last.
Visit our showroom to see our wide selection of tile and hardwood options and talk face-to-face with our team about your project. Contact us today to get an estimate, and we will help you bring your vision to life.


